Bacon and Cashew Caramel Corn
From the kitchen of CarlyButtery caramel meets smoky bacon and roasted cashews in this addictive popcorn mix. The oolong tea adds subtle depth to the caramel, while cayenne gives it a gentle kick. Sweet, salty, crunchy, and dangerously easy to finish in one sitting.
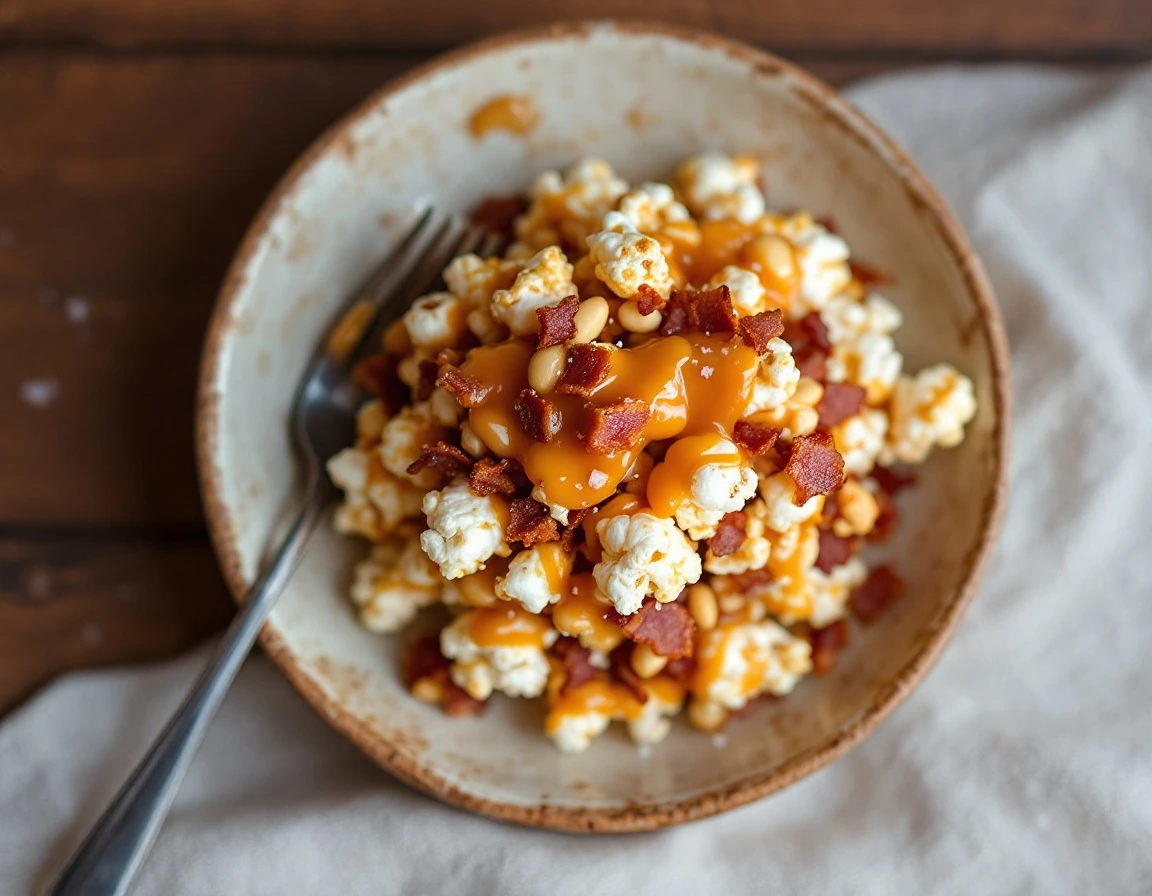
Smoky bacon meets sweet caramel in this grown-up snack that lives somewhere between popcorn and candy. The oolong-infused cream adds subtle tea tannins to cut through richness, while roasted cashews give you actual substance to chew on. It's the kind of thing you make once and your kitchen smells so good that people start showing up unannounced.
- Prep
- n/a
- Cook
- n/a
- Total
- n/a
- Servings
- 4
- Difficulty
- medium
Ingredients
4 servings
- 1/2 cuppopcorn kernels
- 2 tbspvegetable oil
- 6 ozbacon, chopped
- 1/2 cupunsalted raw cashews
- 1 tspcoarse kosher salt or coarse sea salt
- 1/4 tspcayenne pepper
- 1/4 cupheavy whipping cream
- 1oolong tea bag
- 1Nonstick vegetable oil spray
- 1 1/2 cupsugar
- 1/4 cupwater
- 2 tbsplight corn syrup
Instructions
Heat the oven to 300°F. In a heavy large pot with a lid, combine the popcorn and oil and warm over medium-high heat until the kernels begin to pop. Holding the lid on with oven mitts, shake the pot until the popping stops completely. Tip the popcorn into a very large bowl. In a heavy large skillet, cook the bacon over medium heat until almost crisp. With a slotted spoon, transfer the bacon to paper towels to drain; cool. Add the bacon and cashews to the bowl with the popcorn. Shower with coarse salt and cayenne; toss to coat evenly.
Bring the cream and tea bag to a boil over medium heat. Pull from the heat and let steep 15 minutes, occasionally pressing on the tea bag with the back of a spoon to release the flavor. Discard the tea bag.
Line a rimmed baking sheet with foil and coat with nonstick spray. Coat 2 wooden spoons or heat-resistant spatulas with nonstick spray and set aside. In a large saucepan, stir the sugar, 1/4 cup of water, and corn syrup together over medium-low heat until the sugar dissolves. Crank the heat up to high and boil without stirring, occasionally swirling the pan and brushing the sides down with a wet pastry brush, until the syrup turns deep amber, about 13 minutes. Pull from the heat and immediately pour in the cream mixture (it will bubble up dramatically). Stir until smoothly blended. Immediately drizzle the caramel across the popcorn mixture and toss with the sprayed spoons until evenly coated. Tip onto the prepared sheet.
Slide the caramel corn into the oven and bake until the caramel turns shiny and coats the popcorn evenly, tossing occasionally, about 20 minutes. Cool completely on the sheet on a rack, tossing once or twice to break up any large clumps. The caramel corn can be made up to 2 days ahead; store airtight in the refrigerator.
Tips from the kitchen
- The caramel hits its moment fast around 13 minutes, so watch the color shift from golden to deep amber without walking away. It goes from perfect to burnt in seconds. Pull it off heat the instant you hit that rich brown.
- Spray your spoons or spatulas before tossing the popcorn in hot caramel, not after. It keeps the mixture from sticking to the tools and saves your hands from frustration.
- Don't skip the oven step. Those 20 minutes of gentle baking dry out the caramel coating so it actually crunches instead of staying chewy and soft.
Variations
- Skip the oolong and use 1/4 teaspoon vanilla extract instead for a cleaner caramel flavor without tea notes.
- Swap the cashews for roasted pecans or almonds, adjusting the salt to taste since different nuts carry different salt absorption.
- Go spicy by doubling the cayenne and adding 1/4 teaspoon smoked paprika to the popcorn before coating, which plays nicely against sweet caramel.
Make ahead and storage
Store in an airtight container at room temperature for up to 2 days. It softens over time, so eat it the first day if you want maximum crunch. Freezing works but the texture gets sticky, so skip it.