Belgian Buttermilk Waffles with Glazed Bananas
From the kitchen of CarlyCrispy exterior, tender crumb inside. These Belgian waffles rely on buttermilk for tang and lift, while melted butter adds richness. Top with glazed bananas for sweet, caramelized contrast. Perfect for a weekend breakfast that actually tastes homemade.
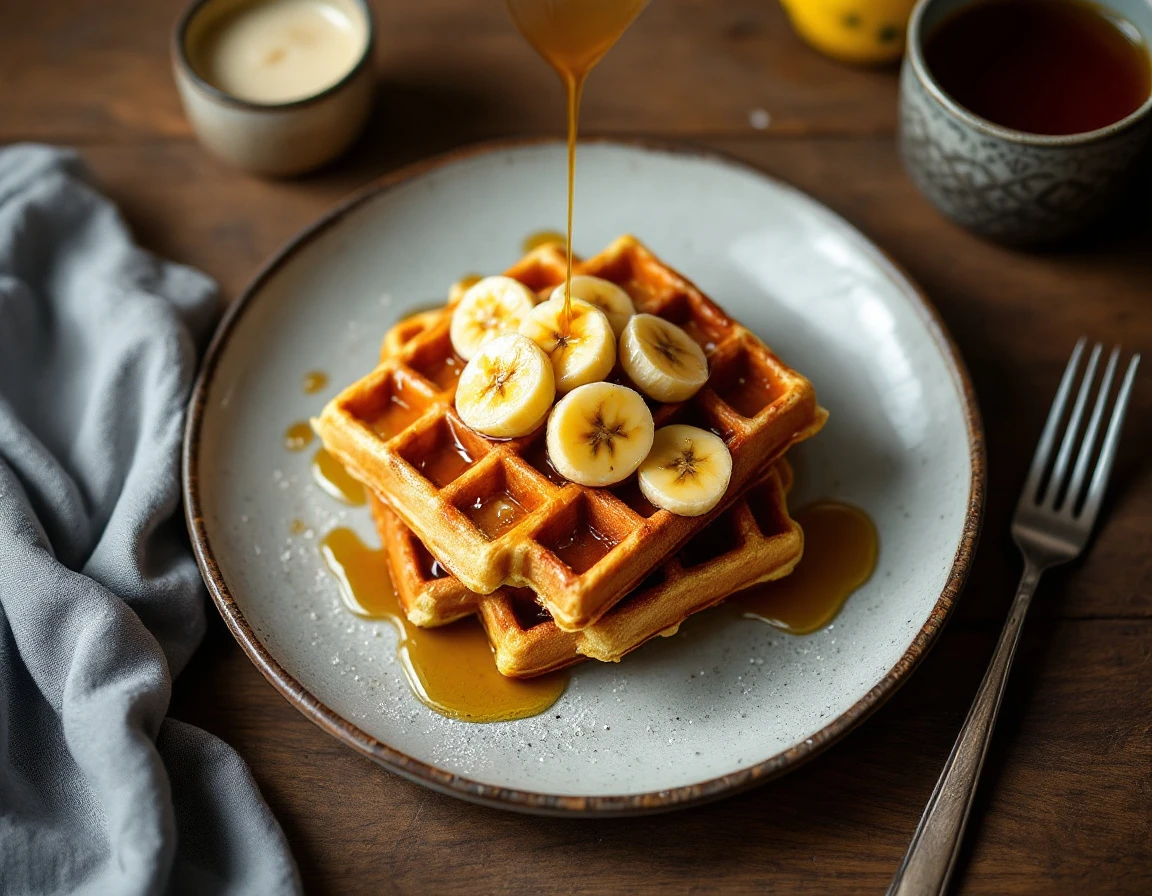
Buttermilk is the secret to waffles that stay crispy on the outside even as steam builds inside. These Belgian squares get their lift from both baking powder and soda, which means tender crumbs you can actually bite through. The bananas hit the pan at the last second, caramelized and glazed in hot maple, so they're still warm and half-soft when they hit your plate.
- Prep
- n/a
- Cook
- n/a
- Total
- n/a
- Servings
- 4
- Difficulty
- medium
Ingredients
4 servings
- 2 cupall-purpose flour
- 2 tbspsugar
- 2 tspbaking powder
- 1 tspbaking soda
- 3/4 tspsalt
- 2 cupwell-shaken buttermilk
- 3/4 stickunsalted butter, melted and cooled to room temperature
- 2 largeeggs
- 1Vegetable oil for waffle iron
- 2 tbspunsalted butter
- 2firm-ripe large bananas, cut diagonally into 1/3-inch-thick slices
- 1 1/4 cuppure maple syrup
- 1sour cream or whipped cream
- 1a waffle iron
Instructions
Position an oven rack in the middle and set a large metal cooling rack directly on top of it. Preheat the oven to 250°F, then preheat your waffle iron at the same time.
Combine the flour, sugar, baking powder, baking soda, and salt in a large bowl, whisking them together until uniform.
In a separate bowl, whisk the buttermilk, melted butter, and eggs until blended, then pour the mixture into the flour bowl and whisk until just combined. A few lumps are fine.
Lightly brush the hot waffle iron with vegetable oil, then pour a slightly rounded 1/2 cup of batter into each waffle mold. Cook according to the manufacturer's instructions until golden and cooked through, about 3 minutes. Lift each finished waffle onto the rack in the oven, keeping them in a single layer so they stay crisp. Repeat with the remaining batter.
While the last batch finishes, melt the butter in a 12-inch heavy skillet over moderately high heat. Once the foam settles, lay the banana slices in a single layer and cook until golden, about 1 minute per side. Pull the skillet off the heat and pour in the maple syrup.
Arrange the bananas over the waffles, drizzle the warm maple syrup on top, and serve with sour cream or whipped cream alongside.
Tips from the kitchen
- Keep finished waffles on an oven rack set to 250°F (not on a plate or in a stack) so steam escapes and they stay crunchy instead of turning into cardboard.
- Don't overmix the batter once you combine the wet and dry. A few lumps are fine and mean the waffles won't be dense or tough.
- Slice bananas diagonally to get bigger surface area for caramelization, and cook them over moderately high heat just until they brown, about 1 minute per side, so they don't turn into mush.
- Brush the waffle iron with oil before each batch, not butter, which burns and leaves bitter spots.
Variations
- Substitute thin slices of apple or pear for the bananas, cooking them a minute longer to soften through.
- Add a teaspoon of vanilla extract and a pinch of cardamom to the batter for warmth without changing the texture.
- Skip the sour cream and serve with toasted pecans or walnuts scattered on top for crunch.
- Use a mix of brown butter and bourbon instead of plain butter when sautéing the bananas for deeper, more complex flavor.
Make ahead and storage
Waffles keep in an airtight container in the fridge for up to 3 days and freeze well for up to a month; reheat in a toaster or toaster oven to recrisp them. Glazed bananas are best eaten fresh, but any leftovers hold in the fridge for a day and can be warmed gently before serving.