A Jolly Good Mince Pie
From the kitchen of CarlyButtery, flaky pastry cases packed with spiced mincemeat, then dusted with powdered sugar. These little tartlets are everything Christmas should be: rich, festive, and simple enough to make in two batches. Proper pastry work that pays off.
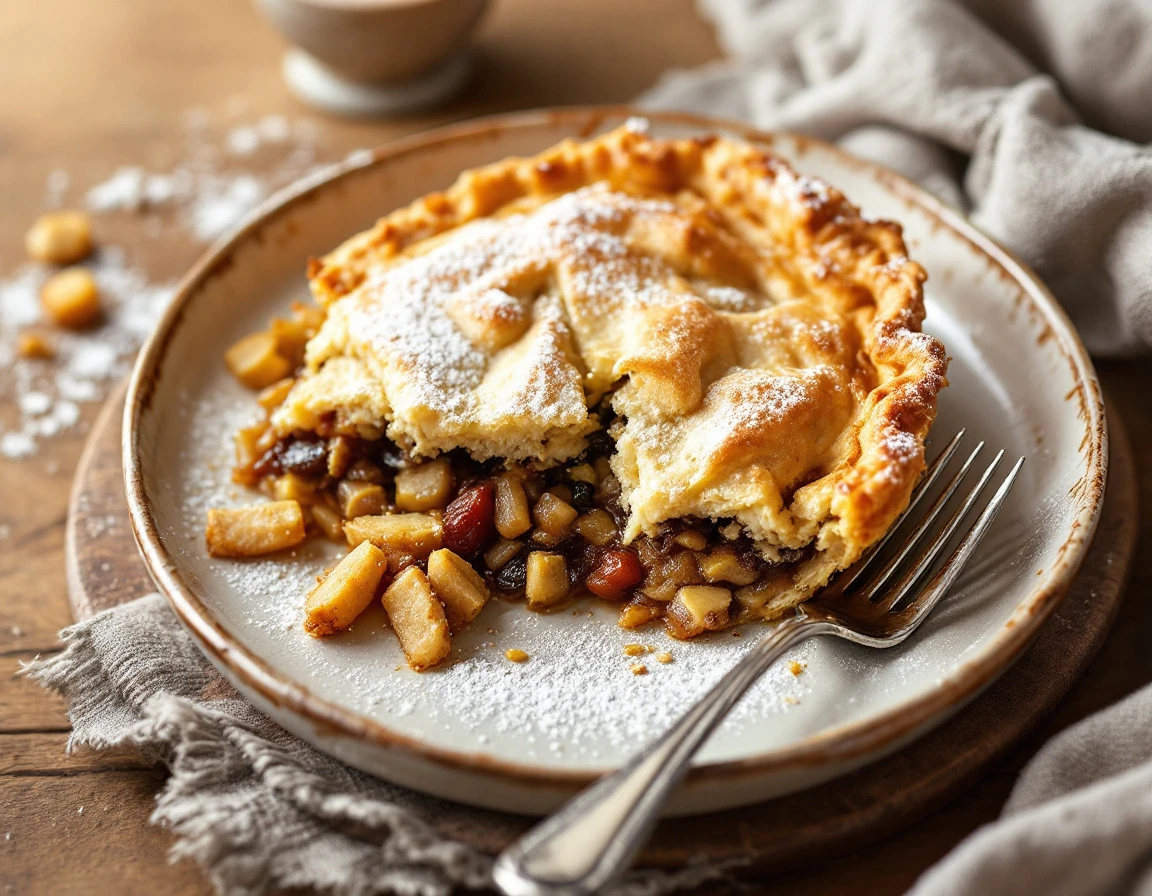
Mince pies done right are buttery, flaky, and restrained on the filling, which means you taste both the pastry and the dense, spiced fruit. The trick here is the lard in the crust, which gives you that shatter and tenderness you can't get from butter alone. These are small enough to eat in a few bites but substantial enough to feel like a proper treat.
- Prep
- n/a
- Cook
- n/a
- Total
- n/a
- Servings
- 4
- Difficulty
- medium
Ingredients
4 servings
- 175g unsalted butter
- 175g lard
- 1150g plain all-purpose flour
- 1egg yolk
- 1375g good-quality mincemeat
- 1Powdered sugar, for dusting
- 1You will also need a 12-hole tartlet tin
- 1each hole measuring 6cmx2cm deep (It is best to bake the pies in a batch of twelve
- 1then a second of six.)
Instructions
Cut the butter and lard into small pieces, then work them into the flour with your fingertips until the mixture resembles coarse, fresh breadcrumbs. A food processor will get you there in seconds if you prefer. Stir in the egg yolk, then add just enough cold water to bring everything together into a smooth dough, usually no more than 1 or 2 tablespoons. Shape it into a firm ball and knead gently on a floured board for a couple of minutes until it softens. Set the oven to 400°F/200°C/Gas 6. Divide the dough in half, set one portion aside, and roll the other out thinly.
From the rolled dough, cut 18 discs using a cookie cutter or the rim of an espresso cup. There may be a small amount of pastry left over. Press 12 of those discs into the tartlet tins, smoothing them up the sides so the edges sit just slightly proud of the tin, and keep the remaining 6 for the second batch. Spoon a level tablespoon of mincemeat into each shell, being generous if your tins run deep. Combine the reserved dough with any leftover trimmings, roll it out, and cut another 18 discs, again setting 6 aside. Dampen the edges of these lids lightly with cold water, lay one over each filled tart, and press firmly around the edge to seal.
With the tip of a small kitchen knife, cut a short slit in the centre of each pie. Bake for 20 minutes until golden. Give them a few minutes to cool in the tin, then slide them out with a palette knife and serve warm, dusted generously with powdered sugar. Work through the remaining pastry discs and mincemeat in the same way for the second batch.
Tips from the kitchen
- Cold water and minimal mixing are your friends for tender pastry. Work quickly, use a food processor if you have one, and stop as soon as the dough comes together. The more you handle it, the tougher it gets.
- A level tablespoon of mincemeat per pie sounds stingy, but it's exactly right. Overstuffing will burst through the sides as it bakes and make the filling taste cloying.
- Dampen the top disc of pastry around the edges before sealing. This helps the two layers stick together and prevents them from separating during baking.
- Cut your vent slit with the point of a sharp knife after sealing, not before. It keeps steam from escaping while the pastry sets, giving you a better rise.
Variations
- Brandy-soaked mincemeat: Use mincemeat that's been steeped in brandy or cognac for a richer, more adult flavor.
- All-butter crust: Omit the lard and use 150g butter instead for a more delicate, crumbly texture, though you'll lose some of that characteristic flake.
- Candied peel swap: Add finely chopped candied orange or lemon peel to the mincemeat for brightness and texture contrast.
- Frangipane layer: Spread a thin layer of almond paste or frangipane on the bottom pastry before adding mincemeat for nuttiness and depth.
Make ahead and storage
Store cooled pies in an airtight container at room temperature for up to three days, or wrap and freeze for up to three months. Reheat gently in a low oven (275°F) for a few minutes to warm through and crisp the pastry without drying it out.